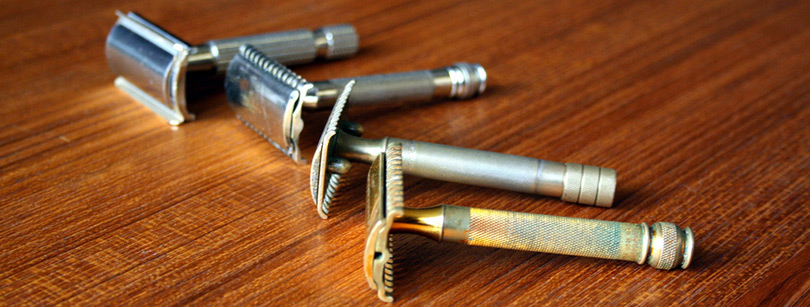
This is a quick overview of my Top 5 DE Razors as of 2015-05-31 .
- 1920 Gillette Single Ring
- German Field Officer Fasan Slant
- Gillette Fatboy E2 Date Code
- 1940’s Gillette Aristocrat
- Pre WWII Merkur White Slant
Matt is a Systems Development Director for a multinational franchise. Matt has lived and worked in Hawaii, Chicago, South Florida and currently resides outside of Atlanta. He enjoys his hobbies including Technology, Gadgets/EDC, Fountain Pens, Wetshaving, Clocks, Antiques & Coffee. He even roasts his own coffee weekly.
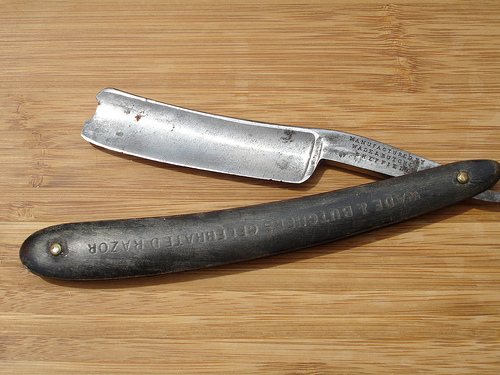
 Many years ago, I decided that I no longer wanted to get screwed over on the soaring cost of razor blades. I started Googling things like ‘safety razors’, reading blogs, how-to’s and watching reviews. With each search on Google, I continued to put the pieces of the wetshaving puzzle together. Finally, after a few weeks, I had a decent understanding of the process and subculture that is wetshaving. If you are looking to ‘save money’ on shaving (lol!), and start enjoying the shaving experience please continue reading, I will be breaking this up into parts, as to make this all a bit more digestible…